How I Got The Shot of My Face Exploding!
This is another post with some high level post production and is not for everyone. I want this blog to be helpful and enjoyable for photographers and designers of all skill-levels, so if this post is not for you, close your mouth and move on! The first thing you need to know about this photograph is that it was taken using my camera phone.
Image A: Picture taken on Camera Phone
That’s right; equipment used–camera phone! Though it doesn’t matter, I have the Samsung Galaxy S2. It is actually a composite of two images stitched together by Autodesk 123dCatch. If you have never heard of this software, you should definitely check it out. It is super simple to use and what it does is stitch multiple images together to create a 3D object. Once the Autodesk software finished the job of stitching the images, I downloaded my 3D face. Yes, that sounds weird; and it is. The file comes out as an *.obj, and I took the image into Cinema 4D. If you are really brave, you can download a demo of C4D.
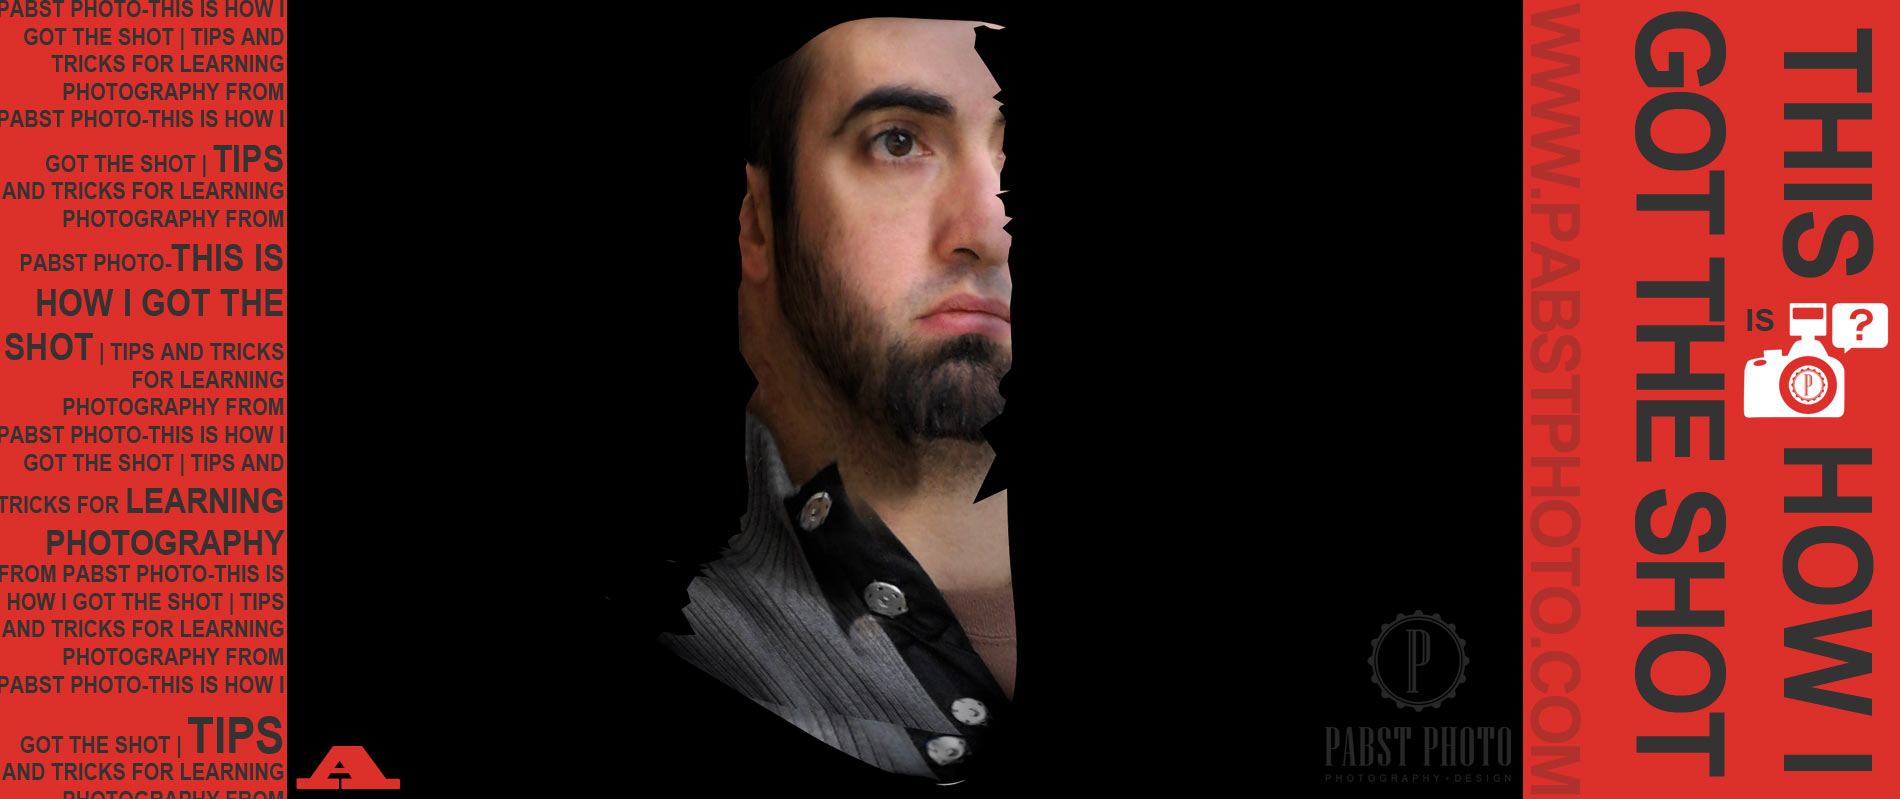
Image B: Break the Face Into Pieces
Once inside of C4D, I used an explode modifier applied to the right side of my face. I used it on low settings so that it wouldn’t blow pieces of my face all over. You can see the result and the large cracking effect. You could so something similar using no 3D software at all. You could take your mug-shot using a single image and then use a Photoshop brush to give the look of the face cracking. There is also probably some plugin for Adobe Photoshop that cracks apart images in a similar way, but I’ve never looked. Nonetheless, chances are good.
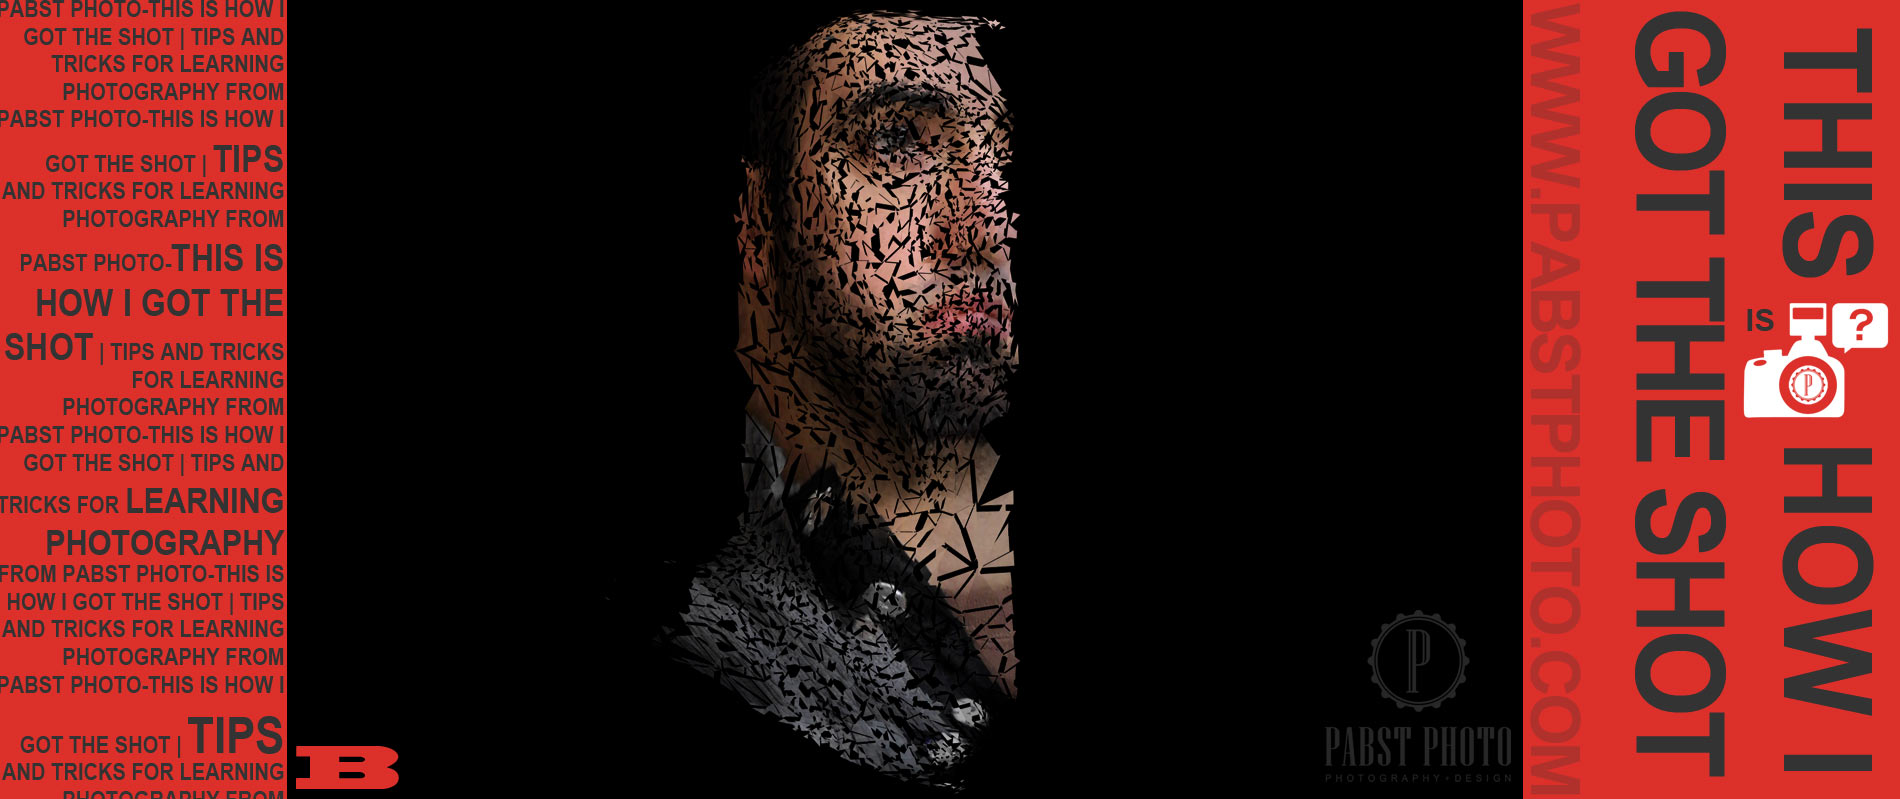
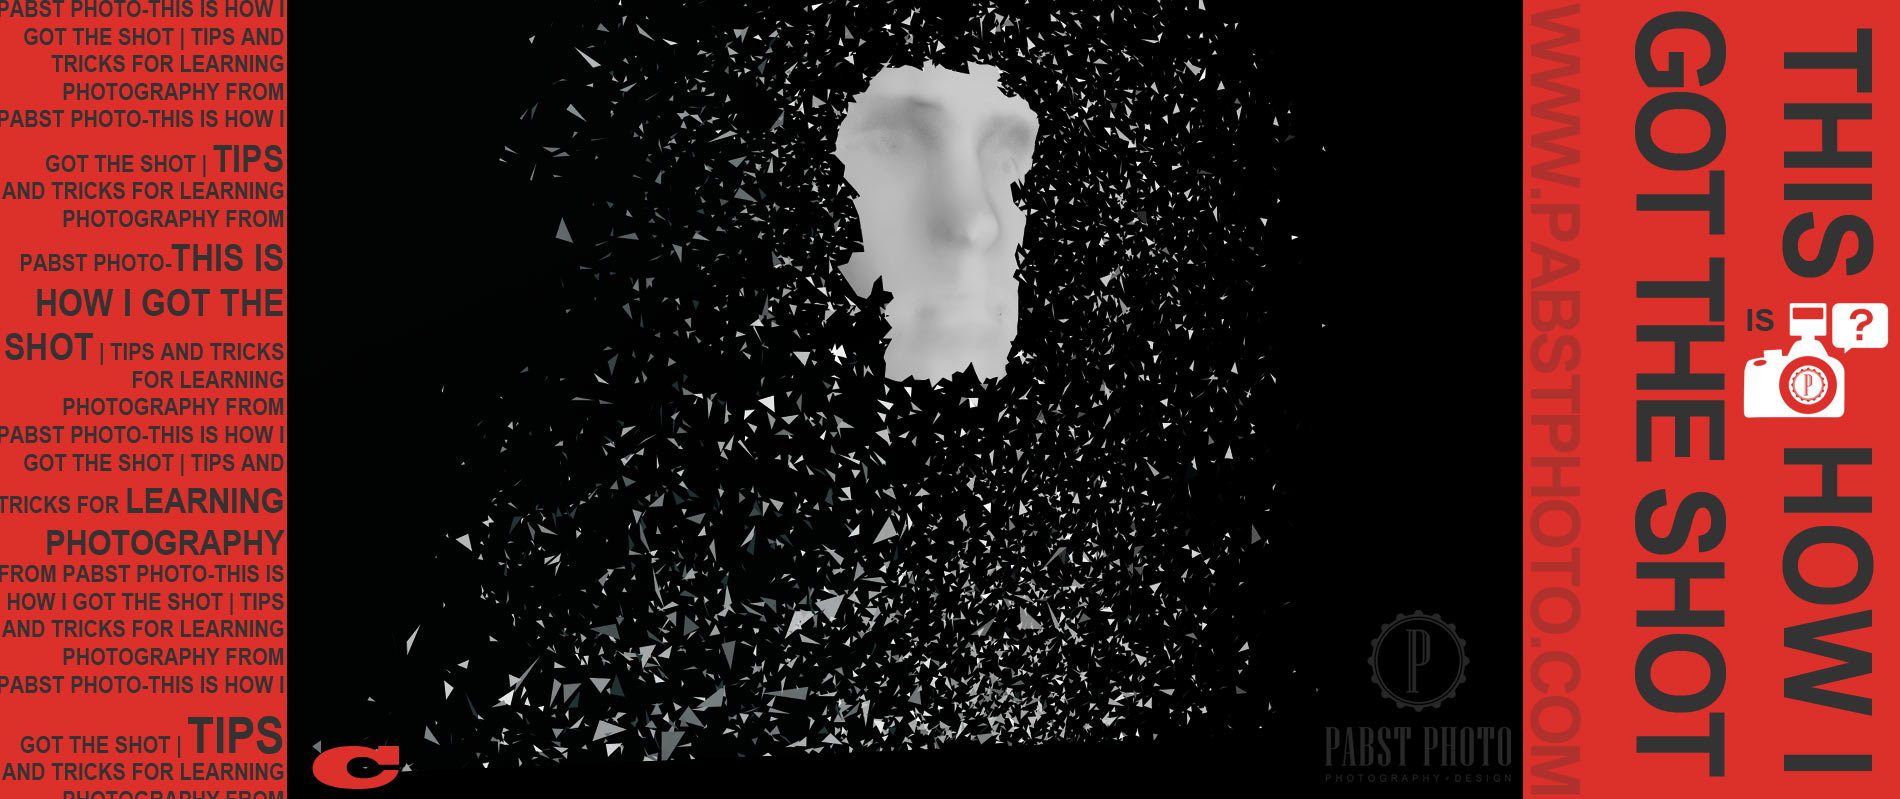
Image C: More Fractal Objects
Image C simple illustrates that the image is a composite and having more fractal objects in the scene really adds to the drama of bits flying through space and helps add that sci-fi look to it all. I also cooled the image using the Photoshop Photo Filter to make it more blue. The last thing I did in Photoshop was to add the little text mark and red box to the left of the face. This finishes it off and a very futuristic way.